

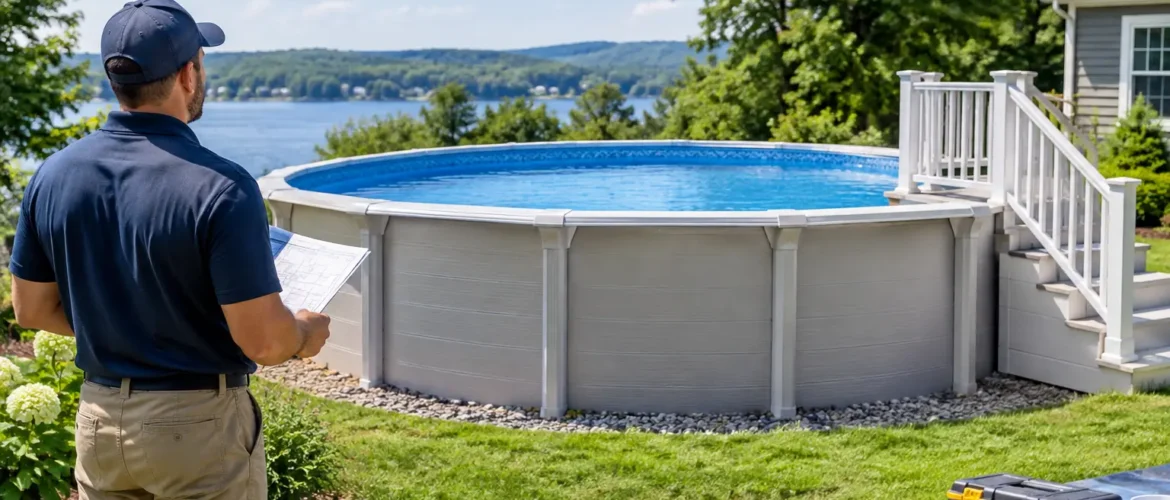
A level-looking backyard is not necessarily a level pool site. Even a small slope can put uneven pressure on an above ground pool wall, liner, frame, and water line. That is why this above ground pool installation guide starts before the pool arrives: with planning the location, ground conditions, local rules, and the equipment needed to keep the pool operating properly.
For Connecticut homeowners, an above ground pool can be a practical way to add summer recreation without the excavation required for an inground pool. It still deserves professional-level planning. A pool that is installed on the wrong base, too close to a wet area, or without proper electrical and safety planning can create expensive problems long after installation day.
Start With the Right Pool Location
The best location is not always the biggest open area in the yard. Look for a site with as much natural level ground as possible, good drainage, reasonable sun exposure, and room to walk around the pool. You also need practical access for delivery, assembly crews, future service, and replacement equipment.
Avoid low spots where rainwater collects. Connecticut’s spring thaw and summer storms can turn a seemingly dry corner of the yard into a saturated area. Standing water beneath the pool can soften the base, encourage erosion, and make the surrounding area muddy and difficult to maintain.
Tree coverage is another trade-off. Shade can make the pool more comfortable on hot days, but nearby trees bring leaves, pollen, branches, and root systems. A heavily wooded site often means more skimming, more filter cleaning, and a higher chance of staining or water-balance issues. A location with afternoon sun and some distance from mature trees is often a better long-term choice.
Keep the pool clear of septic systems, utility easements, overhead wires, and underground utility lines. Before any digging or grading begins, have underground utilities marked. Never assume a line is inactive because it is not visible.
Check Permits, Setbacks, and Safety Rules First
Every Connecticut town can have different zoning, permit, and barrier requirements for residential pools. Your property may have rules covering setbacks from property lines, distance from a house or septic system, required fencing, gate latches, alarms, and electrical inspections. Homeowner association rules may add another layer.
Do not order a pool based solely on where it appears to fit. Confirm the required clearances first, then choose a pool size that works within them. A slightly smaller pool in a compliant, accessible location is a much better investment than a larger pool that creates permit delays or forces costly site changes.
Safety planning should happen at the same time. An above ground pool may have tall walls, but it is not automatically secure. A removable or lockable ladder, a code-compliant barrier where required, self-closing and self-latching gates, and clear adult supervision are all part of responsible pool ownership. If you have children, pets, or regular visitors, make access control a priority from day one.
Ground Preparation Is Where Installations Succeed or Fail
A pool must sit on a truly level, stable base. This means level, not simply flattened. The water surface will reveal even minor errors, and the weight of a filled pool leaves no room for a shortcut. A typical above ground pool holds thousands of gallons of water, placing substantial pressure on the ground beneath it.
The correct approach is usually to remove high areas rather than build up low areas with loose fill. Added soil can settle over time, especially after heavy rain or freeze-thaw cycles. Excavating the high side down to grade produces a firmer, more reliable surface.
After the area is leveled, the base is prepared according to the pool manufacturer’s specifications. Depending on the pool and site conditions, that may include compacted material, a carefully finished sand layer, patio blocks under each support, and a protective ground pad or foam base beneath the liner. The purpose is not just comfort underfoot. A proper base protects the liner from roots, stones, and uneven pressure points.
Do not place a pool directly on grass, loose topsoil, gravel that has not been prepared for the pool system, or a slope that has been roughly raked flat. Grass decomposes, soil shifts, and uncorrected slopes can strain the pool structure. If the site has poor drainage, significant grade changes, ledge, or unstable soil, professional site evaluation is worth the cost.
Plan Electrical, Water, and Drainage Before Assembly
The pump and filter need a safe electrical supply. Pool equipment should be connected through properly installed GFCI protection, and local electrical requirements must be followed. Extension cords are not a permanent pool-power solution. They can create shock and fire hazards, especially around wet equipment and busy backyard traffic.
Think about where the pump will sit, how it will be protected from weather and debris, and whether service technicians can reach it. Equipment should have adequate airflow and a stable pad, while staying positioned according to applicable codes and manufacturer instructions.
You also need a plan for backwashing, splash-out, rainwater, and eventual draining. Water should not be directed toward the home’s foundation, a neighboring property, or a septic area. Poor drainage can damage landscaping and undermine a pool base over time. A simple grading adjustment or planned drainage path can prevent recurring headaches.
Above Ground Pool Installation Guide: Assembly Day
Once the base is approved and ready, assembly can begin. Review the pool manufacturer’s instructions before opening components. Parts may look similar, but rails, uprights, connectors, fasteners, and stabilizers are designed to work in a specific order. Forcing a piece into place or substituting hardware can affect the pool’s structural integrity.
The bottom track is laid out first and checked for a consistent circle or oval, depending on the pool design. Measurements across the pool should match where required, and the track must remain level throughout assembly. The wall is then carefully installed into the track. This stage requires attention because the wall is heavy, has sharp edges, and can shift if it is not supported correctly.
After the wall and frame are secured, the liner is positioned. The liner should be warm enough to flex without excessive stretching, clean underneath, and centered before filling begins. As water is added, smooth wrinkles from the center outward while they are still manageable. Large wrinkles left beneath the liner can be uncomfortable, collect debris, and shorten liner life.
Fill the pool gradually and continue checking the water level around the perimeter. If one side rises noticeably faster than another, stop and investigate. A water line that is out of level is not a cosmetic issue. It may indicate a base problem that needs correction before the pool is completely full.
Install the skimmer, return fitting, pump, filter, and hoses only as directed by the manufacturer. Do not cut liner openings prematurely. Wait until the water reaches the appropriate level and follow the specified procedure so the liner remains properly supported.
Startup Care Makes the First Week Easier
Once the equipment is running, test the water and establish a basic maintenance routine. New water is not automatically balanced water. Test sanitizer, pH, alkalinity, and other levels recommended for your pool system, then make adjustments in measured doses. Adding too many chemicals at once can create a different problem than the one you started with.
Run the circulation system long enough each day to keep water moving and filtered. The exact run time depends on pool size, pump capacity, weather, swimmer load, and water conditions. During the first week, check the filter and water clarity frequently. Construction dust, pollen, and early use can load a new filter faster than expected.
Walk around the pool daily at first. Look for settling beneath supports, wet spots around connections, leaks at hoses, or an uneven water line. Addressing a small issue early is far easier than repairing a shifted base or damaged liner later in the season.
When Professional Installation Is the Better Choice
Some homeowners can handle a straightforward pool kit on a flat, well-drained site. But difficult access, sloped yards, drainage concerns, electrical work, retaining needs, or uncertainty about local permits are good reasons to bring in an experienced pool contractor. Professional installation also helps ensure the base, structure, equipment, and safety planning work together rather than becoming separate projects.
EZ Aqua Fiberglass Pools helps Connecticut homeowners evaluate above ground pool options alongside site preparation, equipment needs, financing considerations, and ongoing service. The goal is not simply to get a pool standing in the yard. It is to give your family a pool that is safe, level, easy to maintain, and ready for years of use.
A well-planned installation lets you spend summer thinking about swim time, not drainage, repairs, or a water line that never looks quite right. Start with the site, respect the details, and get qualified help whenever the ground or local requirements raise questions.